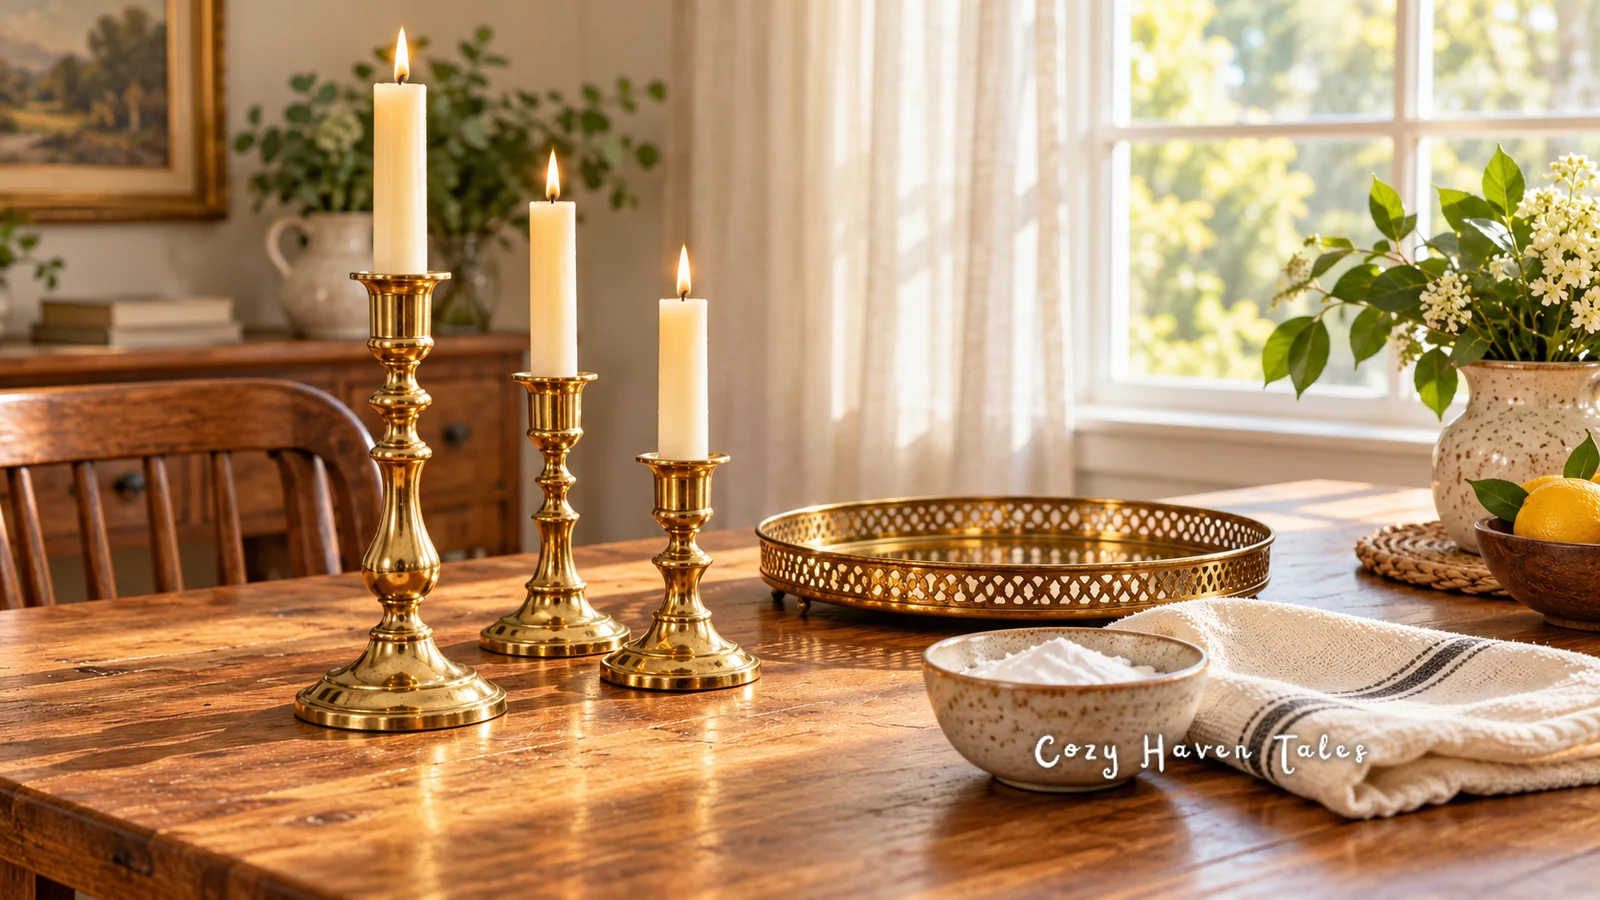
To clean brass items at home safely, first check whether each piece is solid brass or brass-plated, and whether it has a clear lacquer coating. Then start with the gentlest method: warm water, a drop of mild dish soap (or one of these gentle green cleaning products), and a soft cloth. Only unlacquered solid brass should be polished, using a mild paste like lemon juice and baking soda, or a little ketchup, for heavier tarnish. Rinse well, dry completely, and add a thin protective coat so it stays bright longer.
Brass candlesticks, trays, and lamp bases are one of the easiest ways to add a sense of luxury to a room, and they’re everywhere in secondhand stores, which makes them a staple of Ralph Lauren Christmas decorating on a budget. But brass is softer than it looks. Scrub it the wrong way and you can strip a finish, scratch the surface, or wear through plating in minutes. Here’s how to do it without regrets.
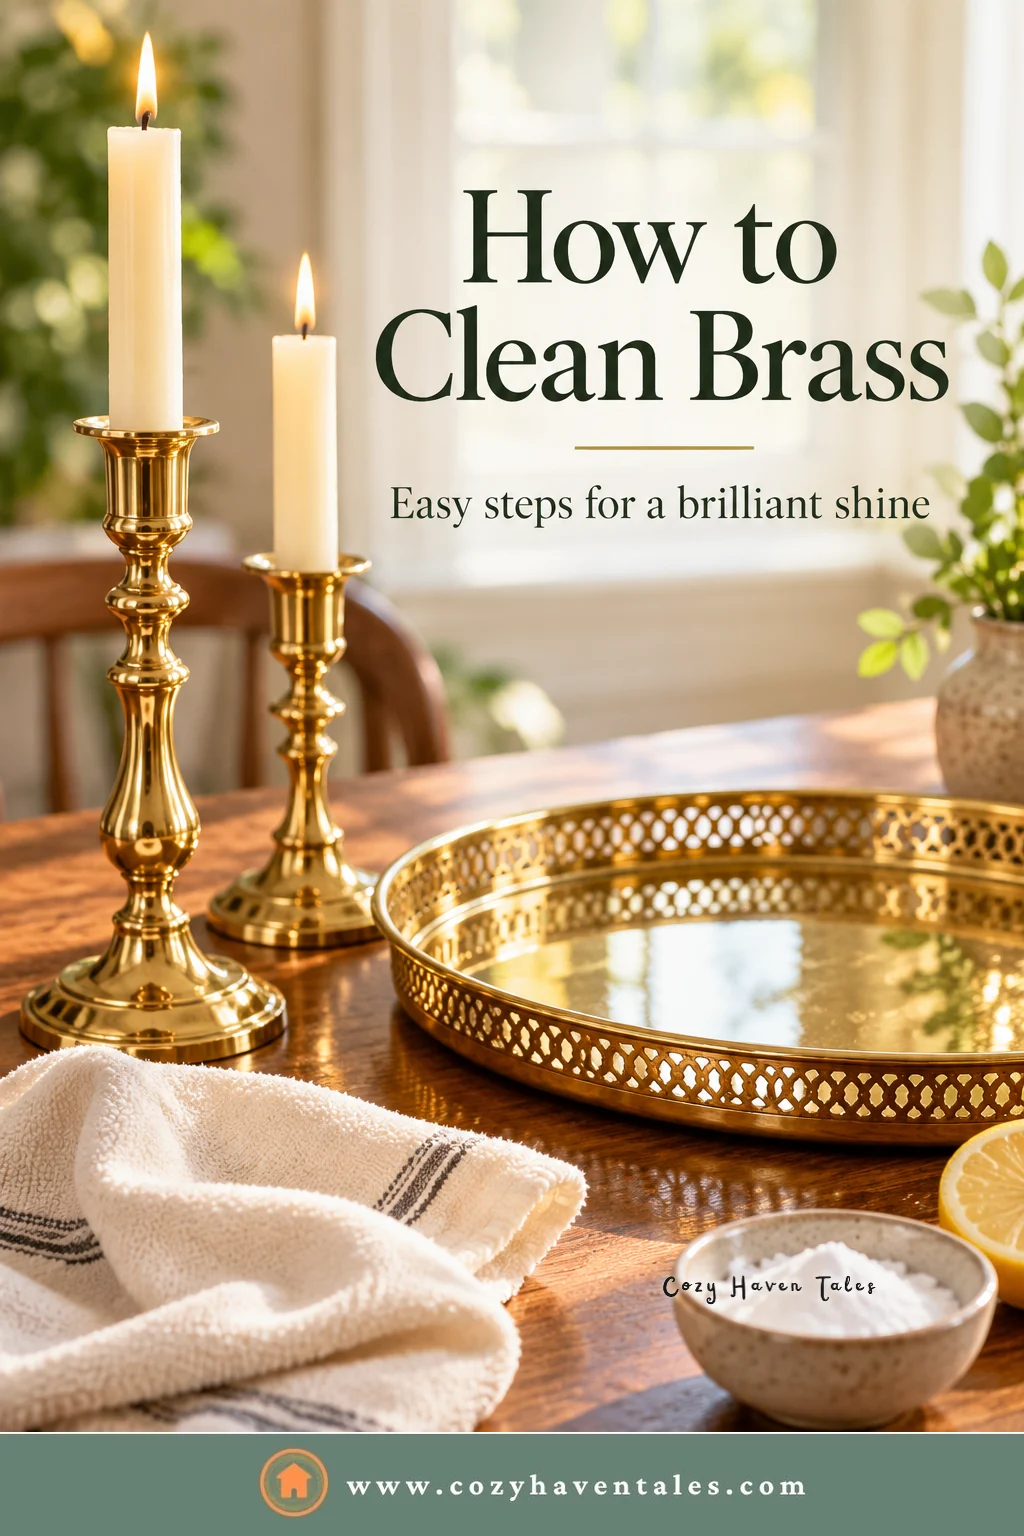
Before You Clean Brass Items, Check What Kind You Have
Two quick checks decide everything else.
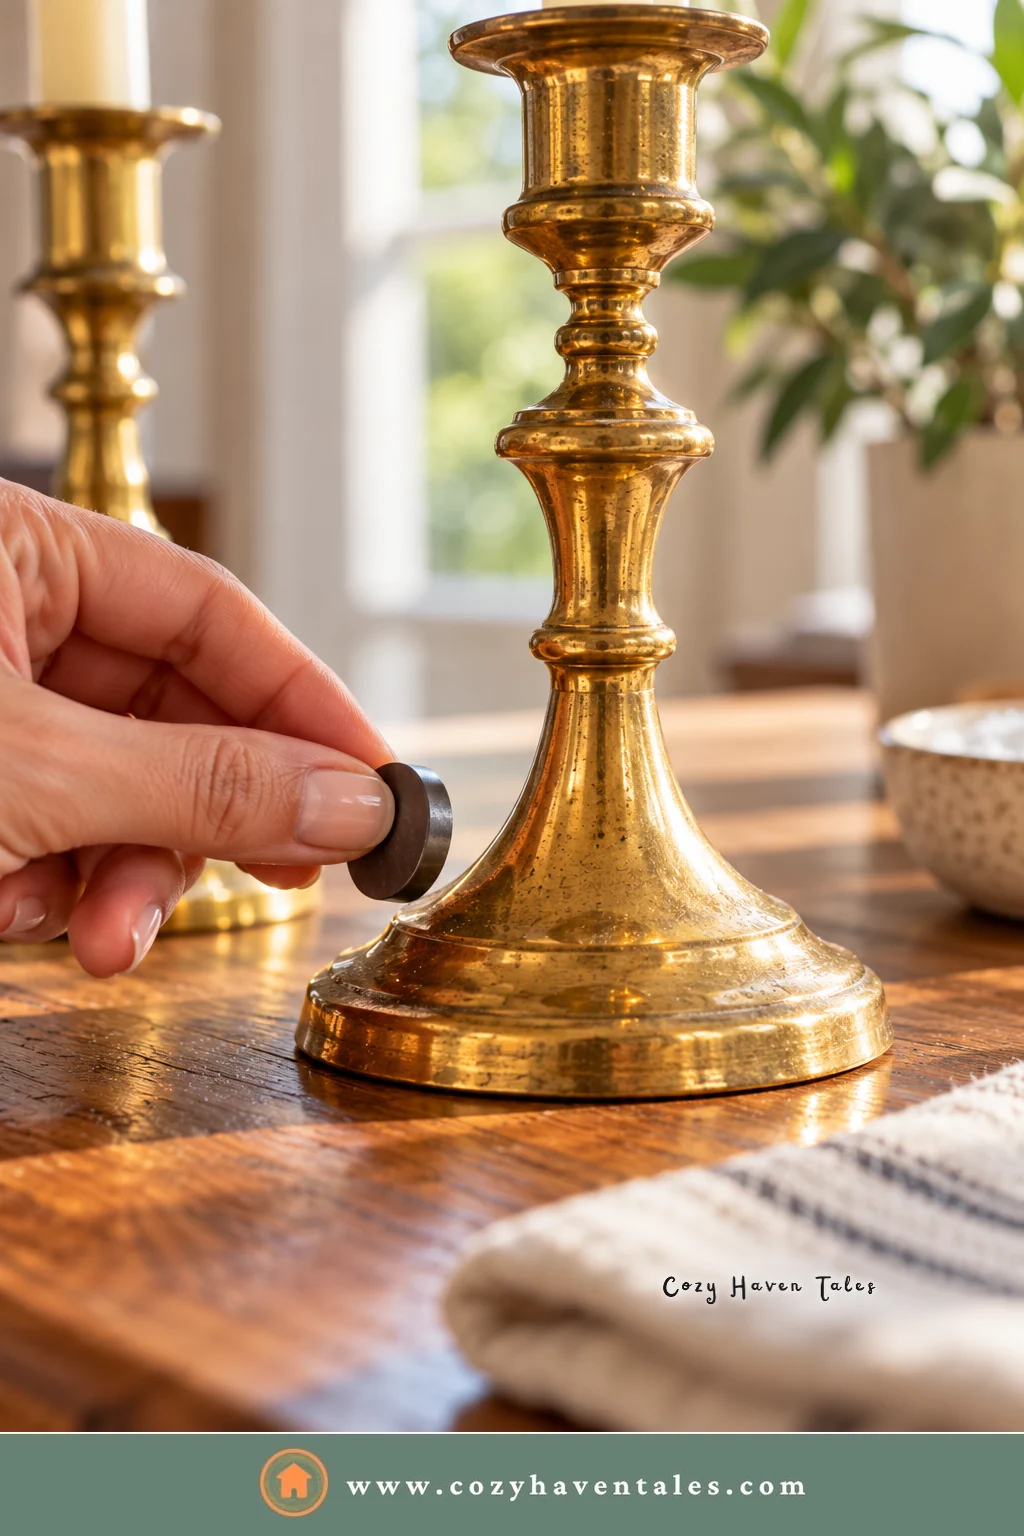
Solid or plated? Hold a small magnet against the piece. Brass isn’t magnetic, so if the magnet sticks, the piece is plated over steel or iron. If it doesn’t stick, the piece is probably solid brass, though some plated pieces sit over other non-magnetic metals. If in doubt, treat it as plated and stay gentle.
Lacquered or not? Many newer brass pieces, especially hardware and lamps, have a clear lacquer coating that keeps them from tarnishing. Lacquered brass usually looks evenly shiny, and if it’s tarnished, the tarnish tends to sit in patches or spots where the coating has worn. Unlacquered brass darkens evenly over time into a soft, warm, slightly uneven tone.
| Type | How to clean it |
|---|---|
| Lacquered (solid or plated) | Mild soap and water only. No polish, no acidic pastes. |
| Plated, unlacquered | Soap and water; a very gentle polish only if needed, with light pressure |
| Solid, unlacquered | Soap and water first, then a mild paste or polish for tarnish |
| Valuable antique | Clean gently only, and ask a conservator before polishing |
One more question before you start: do you actually want it shiny? A soft, aged patina is part of the charm on many older pieces, and it’s what gives a collected room its warmth. Cleaning removes dirt. Polishing removes tarnish along with a tiny layer of metal. You can always polish later, but you can’t put patina back.
Step 1: Clean the Brass Items Before You Polish
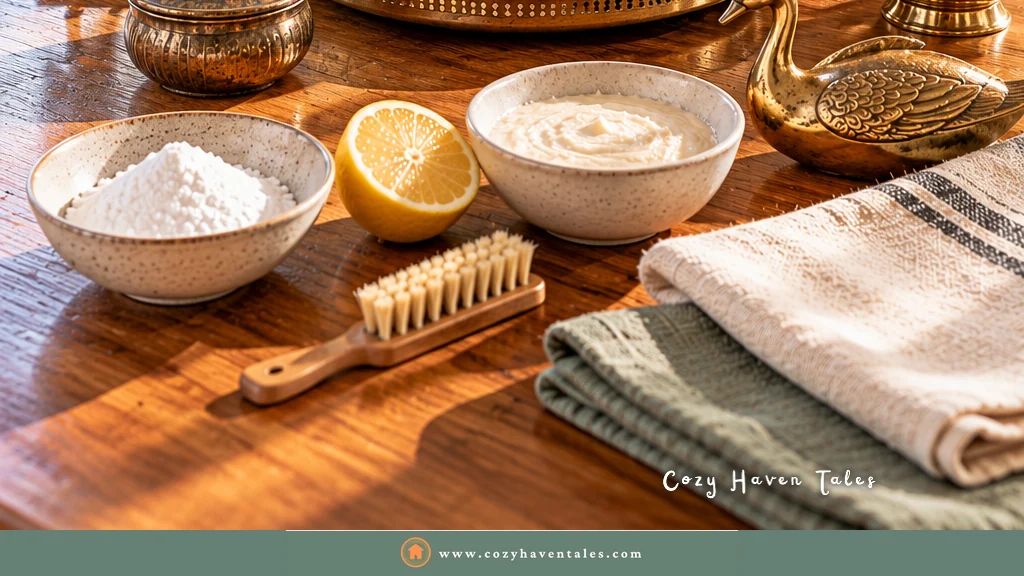
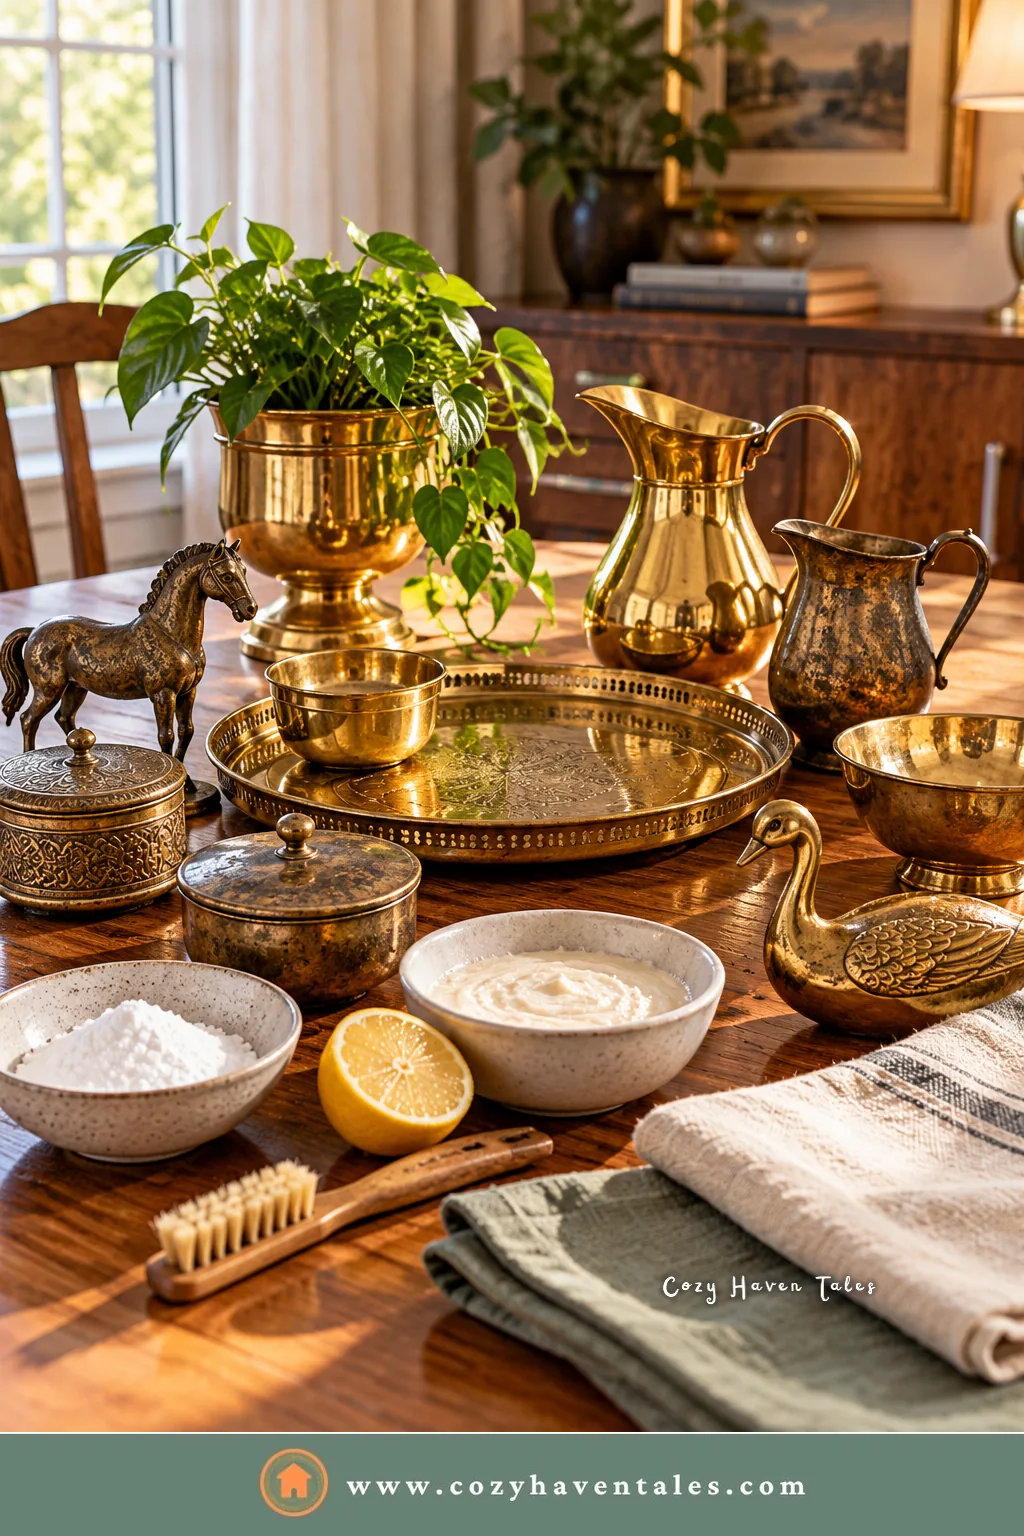
Every piece of brass, lacquered or not, starts here. Gather everything first: soft cloths, a soft brush, mild dish soap, and, if you’ll polish later, a lemon and some baking soda.
- Dust the piece with a soft, dry brush (a clean makeup brush or soft toothbrush works well for details).
- Mix warm water with a few drops of mild dish soap.
- Wipe the piece with a soft cloth dipped in the soapy water. Use a soft toothbrush in crevices.
- Rinse with a clean damp cloth, or under the tap if the piece has no felt base, wiring, or wood.
- Dry it completely with a soft towel.
For lacquered brass, stop here. That’s all it needs.
Cozy Haven Tales Pro Tip: Wear cotton or nitrile gloves while you work on freshly cleaned brass. Fingerprints leave oils and salts behind, and they show up as dark marks surprisingly quickly.
Step 2: Remove Tarnish From Unlacquered Brass
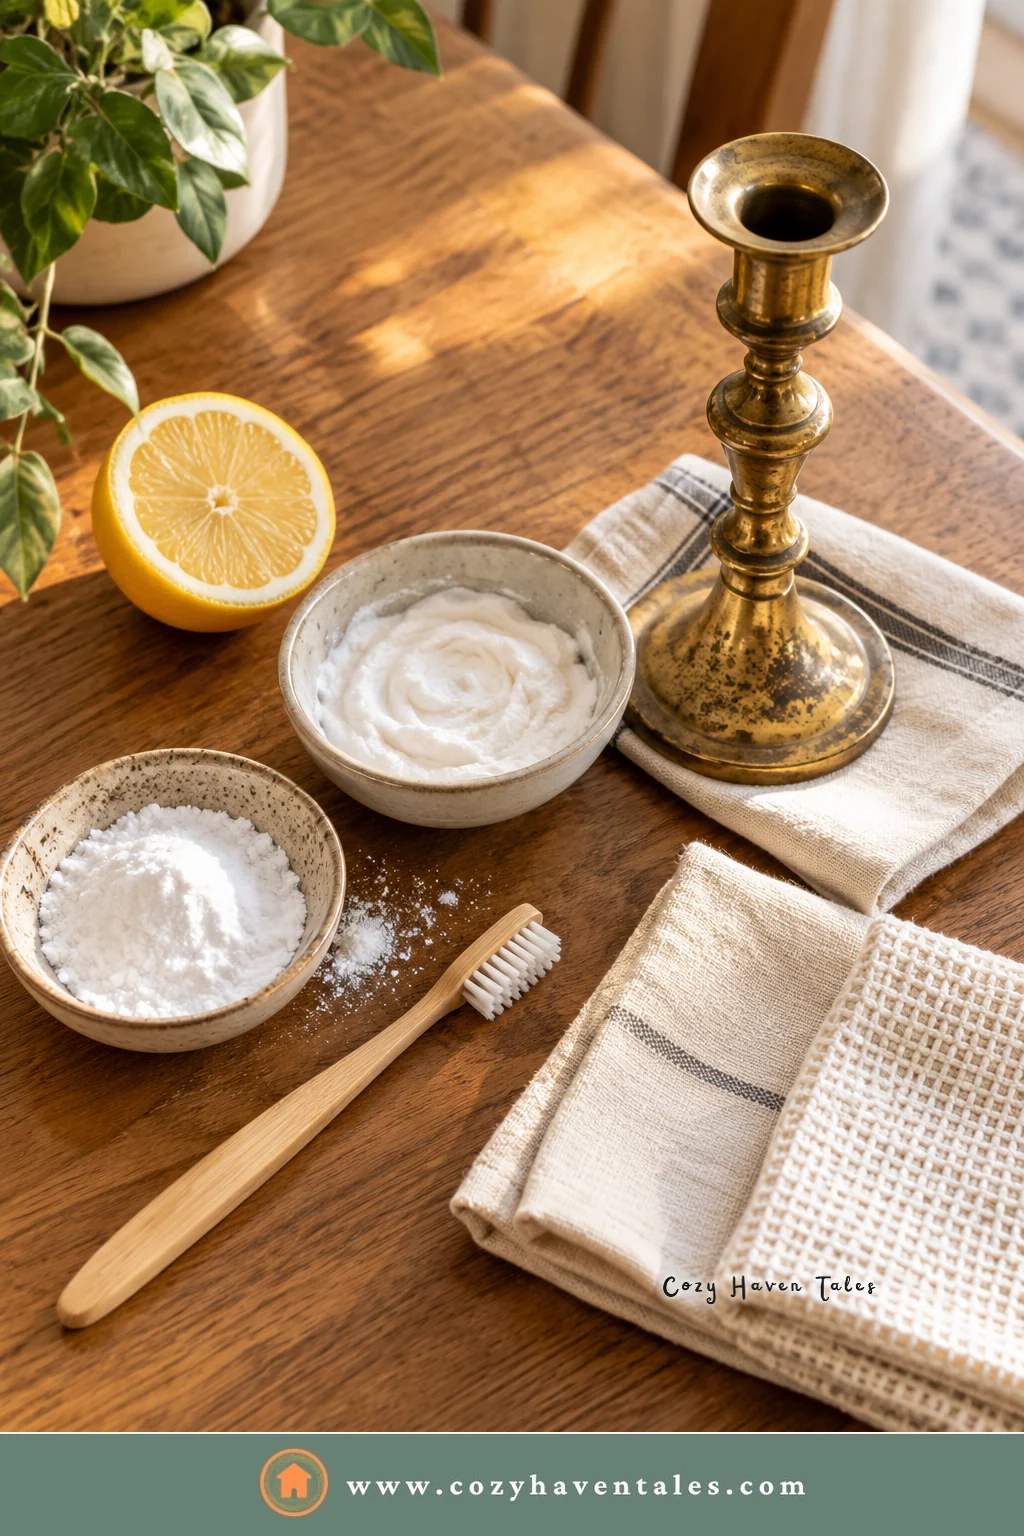
If clean, unlacquered solid brass items still look dull or dark, choose one of these methods. Always test on a hidden spot first, like the underside of a candlestick base.
Lemon and baking soda (light to medium tarnish). Mix the juice of half a lemon with about a teaspoon of baking soda into a paste. Rub it on gently with a soft cloth, following the shape of the piece, then rinse.
Ketchup (medium tarnish, detailed pieces). The mild acid in ketchup loosens tarnish, and its thickness helps it cling to curves. Apply a thin layer, leave it for a few minutes, wipe it off, and rinse.
Vinegar, salt, and flour (heavier tarnish). Mix equal parts of salt and flour with enough white vinegar to make a paste. Apply, leave for 10 minutes or so, then rinse. This is the most aggressive of the three, so use it on solid brass only.
Commercial brass polish (stubborn tarnish). Choose one made for brass, not for cars or stainless steel, follow the label, and use as little rubbing as possible. Some polishes contain abrasives or ammonia that are hard on soft metal.
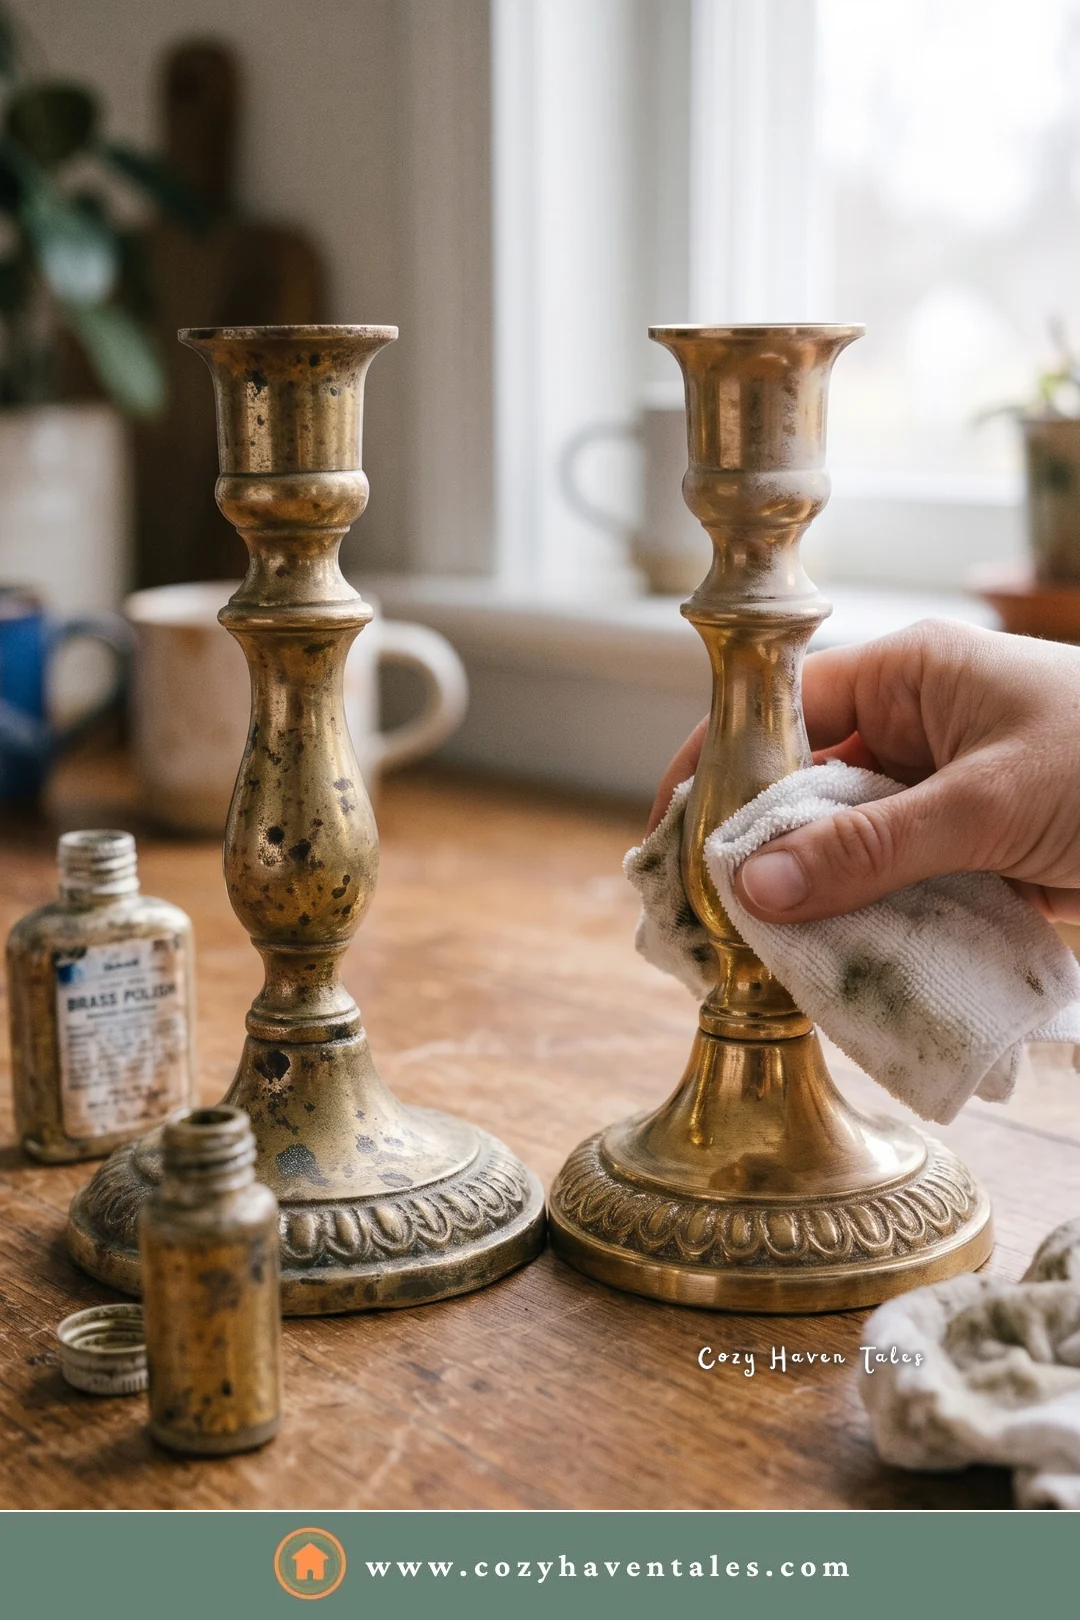
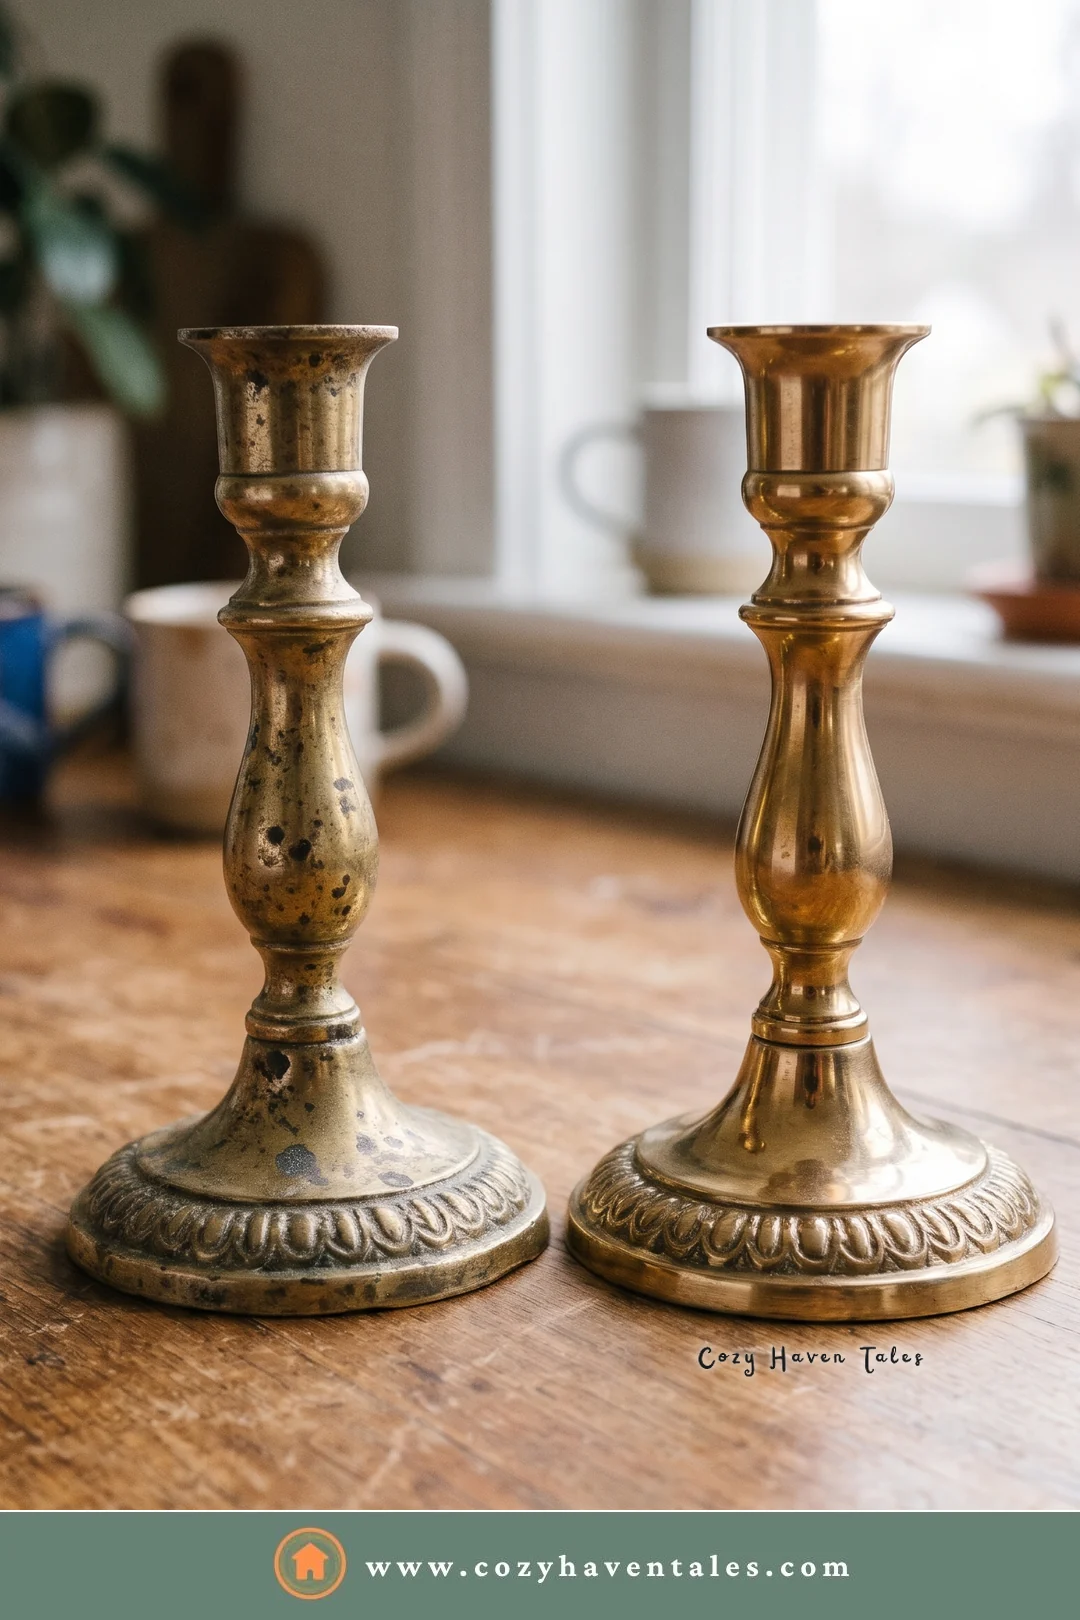
Whatever you use, work in small sections, and don’t leave acidic pastes on longer than needed. Leftover acid keeps working on the metal after you’ve finished.
Related read: How to Clean a Leather Couch, another quick care routine for the pieces that make a room feel warm.
Step 3: Rinse, Dry, and Protect
- Rinse thoroughly with clean water to remove every trace of paste or polish, especially from crevices.
- Dry completely with a soft towel. Water left in grooves causes new spots.
- Buff with a clean, dry microfiber cloth for a soft shine.
- Protect it. A thin coat of a clear paste wax, or a very light wipe of mineral oil, slows down new tarnish. Wax lasts longer; oil is quicker but needs redoing more often.
Once your brass items are clean, put them where they can catch the light. Brass looks its best near a lamp or a window, where it glows rather than shines, which is one more reason to plan layered lighting in your rooms. It’s one of the reasons brass appears so often in Ralph Lauren Christmas decor and in most rooms that feel warm and settled.
What Not to Do When You Clean Brass Items
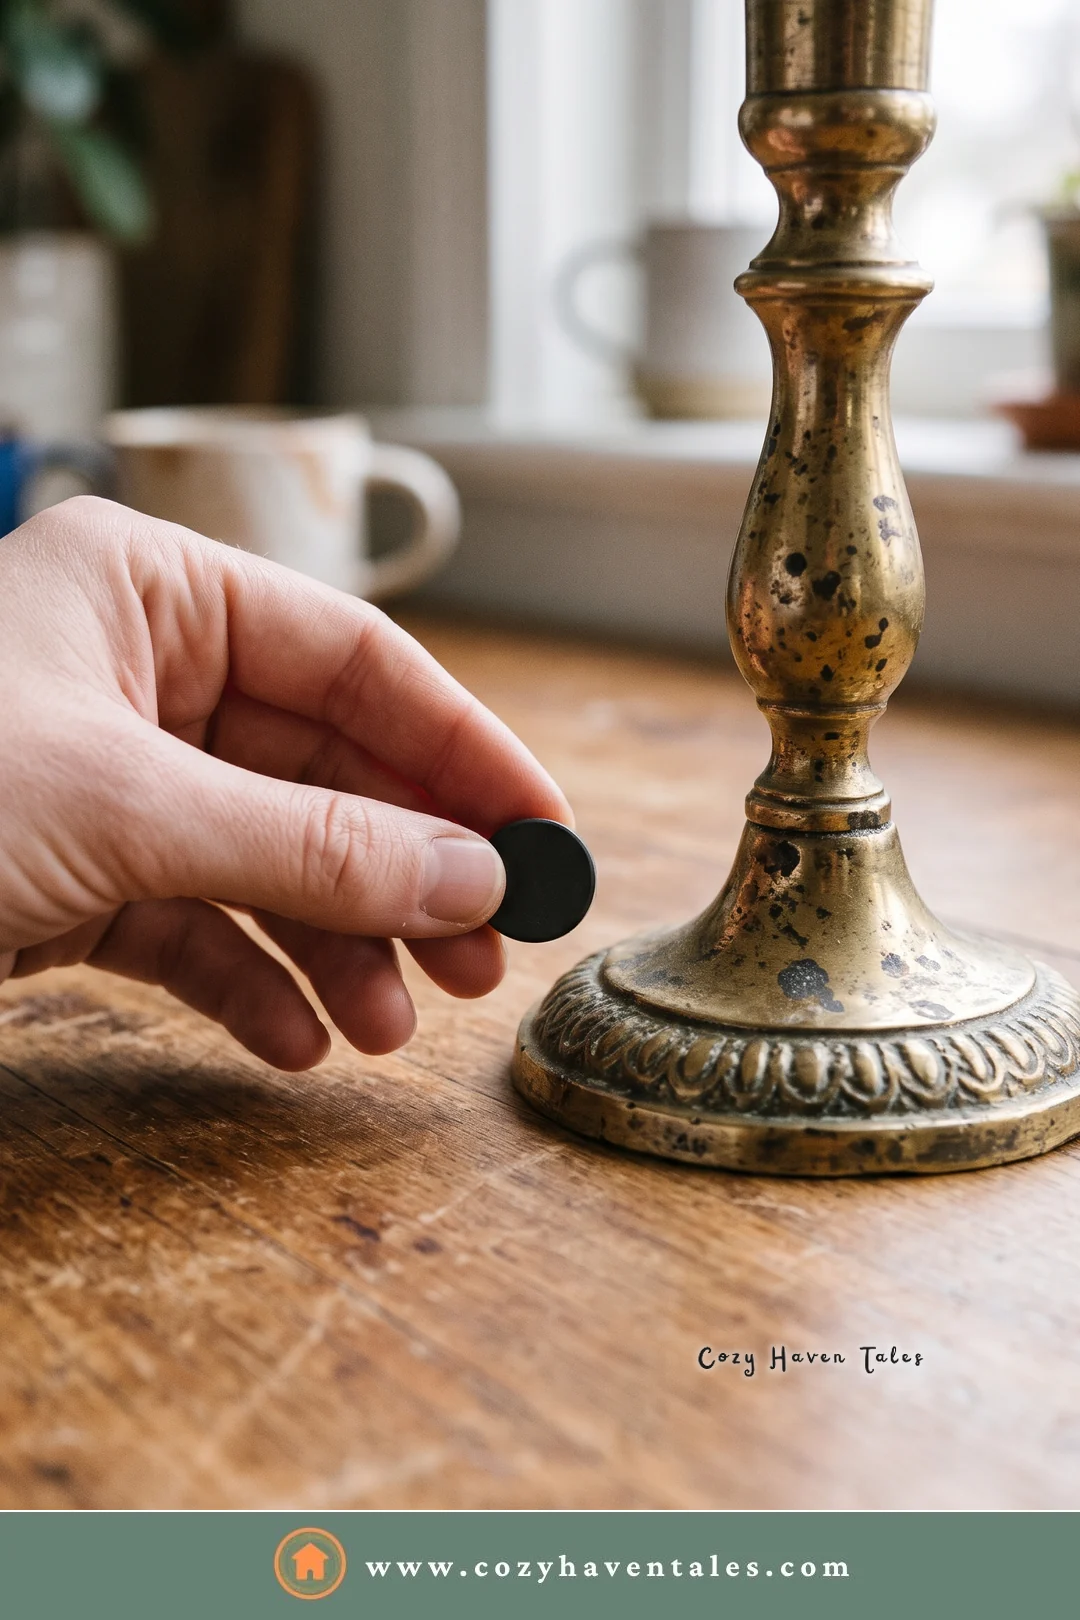
- Don’t skip the type check. Ten seconds with a magnet, especially on a dark, heavily tarnished thrift find, tells you whether polishing is even safe.
- Don’t polish lacquered brass. It strips the coating, and the piece will then tarnish unevenly.
- Don’t use steel wool, scouring pads, or abrasive powders. They leave fine scratches that dull the surface for good.
- Don’t soak pieces with felt, wood, or wiring. Lamps and candlesticks with felt bases should be wiped, not dunked.
- Don’t polish valuable antiques without advice. Their patina can be part of their value.
- Don’t skip the rinse. Polish and paste residue keeps reacting with the metal.
Readers also liked: How to Clean and Maintain Rattan Furniture, another natural material that rewards a gentle routine.
How to Clean Brass Items: FAQs
Put them in the freezer for an hour. The wax hardens and usually pops off with gentle pressure from your fingers or a wooden craft stick. Then wash and polish as usual.
That usually means an acidic paste was left on too long, or a lacquer coating was partly removed. Rinse well, dry, and polish gently and evenly. A conservator can help with a valuable piece.
Brass items don’t need much. A gentle clean, a careful polish when it truly needs one, and a little protection will keep it glowing for years.
Watch It Done and Further Reading
If you’d like to see the process before trying it, these two videos show it clearly:
- How to Clean Brass, a short walkthrough from The Home Depot.
- How to Clean Brass Tarnish: Restoring an Antique Brass Bowl from The Simple Homeplace, a thrift-store piece cleaned from very dark tarnish.
For a museum-level view of the difference between cleaning and polishing, the Canadian Conservation Institute’s guide to cleaning, polishing, and waxing brass and copper is worth reading, especially for older pieces.