When was the last time you looked up at your ceiling? If you just did — and spotted a few cobwebs, dust patches, or those sneaky stains near the fans and AC vents — you’re not alone.
Ceilings are one of the most overlooked spots in our homes when it comes to cleaning. But keeping them clean is important not just for hygiene and appearance, but also for air quality inside your home.
Don’t worry — cleaning your ceiling doesn’t have to be a difficult or time-consuming chore. This simple, no-fuss guide will show you how to tackle it easily and keep your ceilings looking spotless.
Related Posts:
- Simplify Your Space: How to organise kitchen and keep it spotless clean
- Escape Chaos: How to find Your Personal Design Style
- 33 Blue Couch Living Room Ideas
🏠 Why You Should Clean Your Ceiling
1️⃣ Dust and Allergens: Ceilings gather dust, pet hair, cobwebs, and tiny airborne particles that you don’t always see. These can trigger allergies and reduce indoor air quality.
2️⃣ Stains and Marks: Cooking fumes, moisture, and AC vents often leave marks and patches on ceilings — especially in kitchens and bathrooms.
3️⃣ Better Overall Cleanliness: A clean ceiling makes the entire room feel fresher, brighter, and more well-kept.
🧽 Things You’ll Need
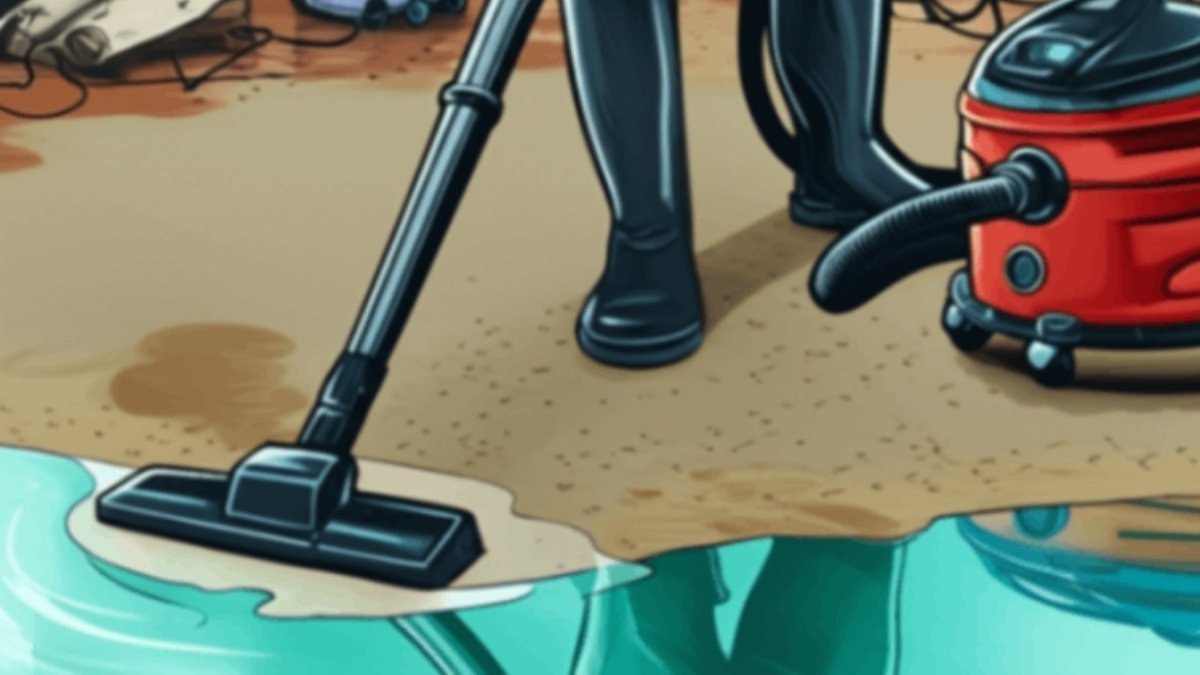
- A long-handled duster or microfiber mop
- A vacuum cleaner with an extension wand (optional but great for dry dust)
- A sturdy ladder (if needed)
- Mild dish soap
- Warm water
- A soft sponge or cloth
- Baking soda (for tougher stains)
- A spray bottle
Pro tip: Avoid using harsh cleaners or too much water, especially if your ceiling is painted or made of delicate materials like plaster or textured finishes.
✨ How to Clean a Ceiling — Step by Step
1️⃣ Dust First
Start by removing dust, cobwebs, and loose debris.
- Use a long-handled microfiber duster or a vacuum cleaner with an extension.
- Work from one corner of the room to the other so you don’t miss any spots.
- Pay attention to ceiling corners, around light fixtures, and air vents — these areas collect the most dirt.
2️⃣ Spot Clean Stains
Check for spots or stains caused by moisture, cooking fumes, or bugs.
- Mix a solution of mild dish soap and warm water in a spray bottle.
- Lightly spray the stained area and gently wipe with a soft sponge.
- For stubborn stains (like grease or smoke), add a pinch of baking soda to your cleaning water.
Note: Always test a small hidden spot first to make sure the paint or ceiling material doesn’t react to your cleaner.
3️⃣ Clean Around Fixtures
Ceiling fans, light fixtures, and AC vents gather dust faster than anything else.
- Wipe them down with a damp cloth or use your vacuum’s brush attachment.
- Make sure everything is dry before turning fans or lights back on.
4️⃣ Tackle Textured or Popcorn Ceilings
These need extra care since they’re delicate and can crumble easily.
- Avoid wet cleaning. Instead, use a soft brush attachment on your vacuum or a dry microfiber duster.
- If you must clean a stain, lightly dab it with a damp cloth — never scrub.
🌸 Ceiling Cleaning Tips You’ll Thank Me For
1️⃣ Clean ceilings before walls and floors. Gravity will pull dust and dirt down, so save floors for last.
2️⃣ Use a face mask if you’re sensitive to dust. It makes the job a lot easier on your sinuses.
3️⃣ Schedule a ceiling cleans every 3-6 months — especially in kitchens and bathrooms.
✅ Why This Matters
Clean ceilings don’t just look better — they improve the air you breathe, reduce allergens, and make your home feel fresher overall. And now that you know it doesn’t take a ton of time or effort, you can add it to your regular cleaning routine without stress.
📌 Final Thought
Next time you plan a home cleaning session, remember to look up. Your ceiling might be quietly collecting more than just dust. A simple clean-up can instantly refresh your space — and you’ll feel better knowing it’s done.